Installation Linux
Downloads
Download Blender
From the website : blender (not recommended)
Using the terminal (recommended) :
- sudo add-apt-repository ppa:thomas-schiex/blender
- sudo apt-get update
- sudo apt-get install blender

Download Animation Nodes
From the website : Animation Nodes
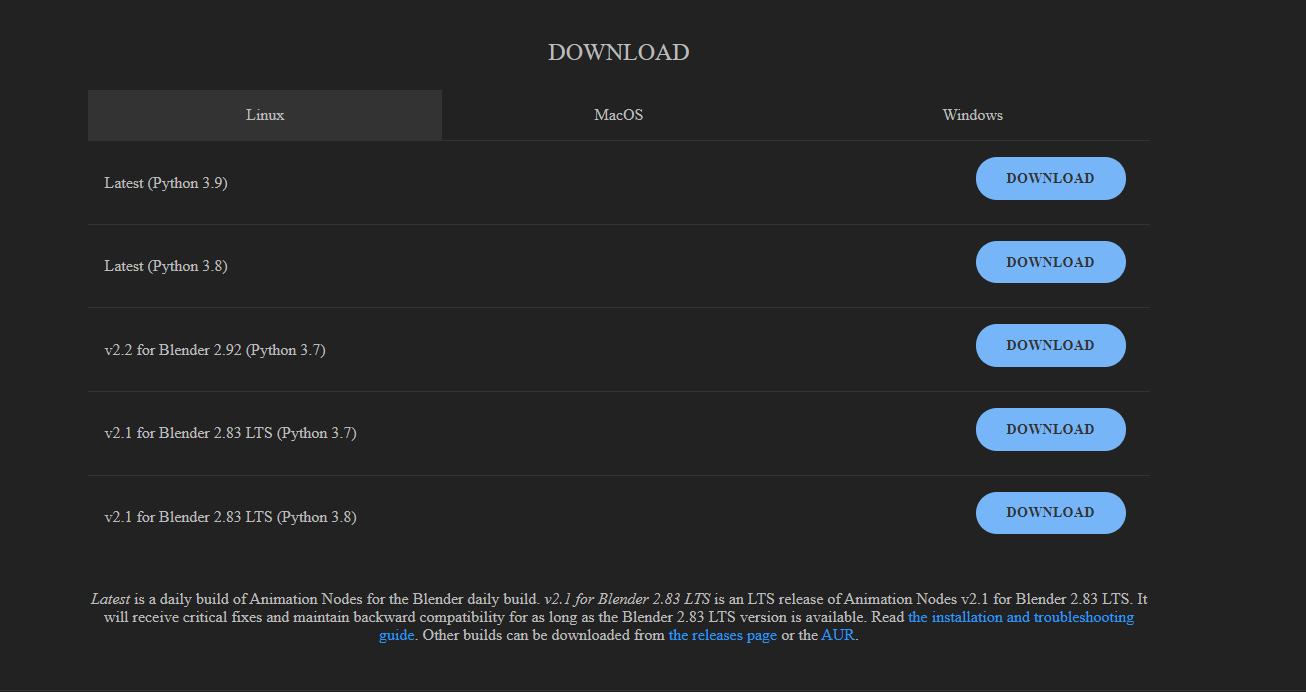
Download Animation Nodes
From our repo : Quantum Nodes

Installations
Blender
If downloaded using the terminal: it’s already done 👌
- If downloaded from the website (not recommended here):→ As mentioned here, uncompress the content of the downloaded
.tar.xzat the desired location (e.g.~/softwareorusr/local) Launch it to check if everything went well 😉
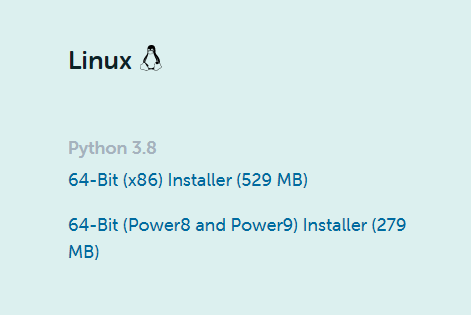
Anaconda
- Open a new terminal where the file is saved.→ Then enter:
bash file_name.sh→ Wherefile_name=anaconda.shorAnaconda3-[version]-Linux-x86_64.sh, depending on wether you downloaded it using the terminal or the website. - During the installation:→ You can choose a custom location for the Anaconda installation files.However, this tutorial uses the default location (recommended).→
Do you wish the installer to initialize Anaconda3?→yes Once the installation is finished:
source ~/.bashrc
Anaconda environment and Blender
In this part, we will create a new conda environment and install the necessary packages for Quantum Nodes. Then, we will tell Blender to use our environment instead of the python that comes with by default.
- Open a new terminal:→ Go to your Blender files.The files are located here (when installed using the terminal):
cd /usr/share/blender/2.91/ Deactivate the current python version:
mv python _pythonCreate a new Anaconda environment:
Warning : as mentioned here, the python version (major and minor) must match the one that Blender comes with. For Blender 2.91.2, python 3.7 is ok.
→ Enter :
conda create --name=blender python=3.7→ When the installation is finished, enter:
conda activate blender- Link the Anaconda environment to Blender:→ If you have installed Anaconda with the default parameters, as we did in this tutorial, your conda env’ should be installed here:
~/anaconda3/envs/blender/→ So, enter:sudo ln -s ~/anaconda3/envs/blender/ pythonThis creates a junction between the python folder in the Blender files and the folder in the Anaconda environments files. - Install the needed python packages for Quantum Nodes:
pip install pillowpip install scipypip install qiskit - Then, open Blender, go to scripting and type in the python console:
import qiskitIf Blender does not find Qiskit, you need to follow the next steps:→ Go here:cd ~→ Enter:sudo nano .bashrc→ Insert this line at the end (use arrows to scroll down):export PYTHONNOUSERSITE=True→ Close the document :ctrl + xthenyandenter→ Reopen Blender, it should now find Qiskit.
Menu